














Need some advice?
The Ultimate Guide to Hi-Vis Clothing for Your Workforce
Choosing hi-vis clothing for a workforce means matching visibility, comfort and practical features to the job. A visitor walking through a depot, a delivery driver unloading a vehicle and an employee working outside all winter can need different garments, even when they wear the same company logo.
The right selection starts with your risk assessment and any site requirements. You can then compare vests, jackets, polos, T-shirts and other layers, check how your logo can be applied, and plan an order that works across the team.
This guide brings those decisions together, with links to specialist advice where you need more detail. You can also compare the wider range of hi-vis clothing as you build your shortlist.
- Page Contents
- Start With the Working Conditions
- Types of Hi-Vis Clothing for Different Workplaces
- Why Hi-Vis Clothing Matters
- EN ISO 20471: What Buyers Need to Check
- Fit, Sizing and Layering
- Adding Your Logo to Hi-Vis Clothing
- When Hi-Vis Vest Bundles Make Sense
- Planning a Workforce Order
- How Often Should You Replace Hi-Vis Clothing?
- Buying Hi-Vis Clothing From XAMAX®
Start With the Working Conditions
Before choosing a colour or garment style, establish where and how the clothing will be worn. Consider vehicle movements, lighting, the surrounding background, weather, working positions and how long people will wear the kit.
A useful purchasing brief answers five questions:
- What visibility performance is required? Record the required standard and class, including any client or site specification.
- What does the wearer actually do? Include driving, lifting, reaching, kneeling, walking and time spent standing outside.
- What other protection is needed? Rain, cold, heat, flame or other hazards can introduce separate clothing requirements.
- What will be worn together? Check the complete outfit, including winter layers and other PPE.
- How will the clothing be issued and maintained? Plan sizes, quantities, cleaning, replacements and repeat orders.
Avoid choosing a visibility class from a job title alone. Two employees called "delivery driver" could work in very different conditions. Give your supplier the actual specification and working requirements so the shortlist starts in the right place.
Types of Hi Vis Clothing for Different Workplaces
The main garment types solve different practical problems. Start with the required performance, then compare how each option fits the working day.
Hi Vis Vests
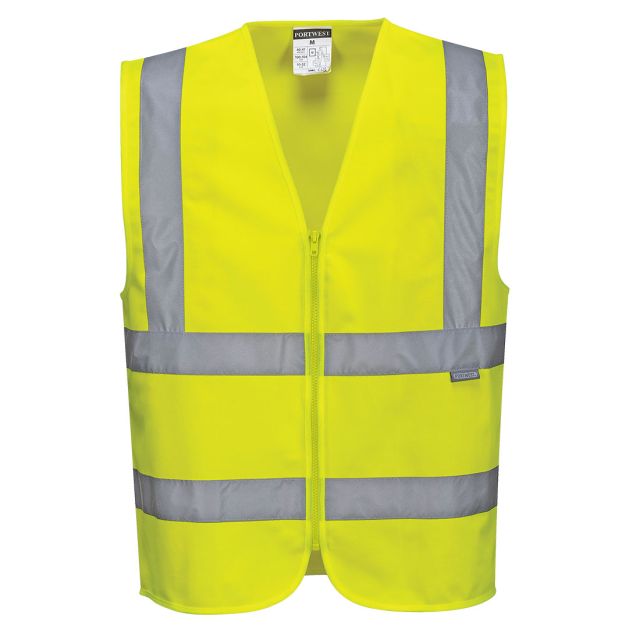
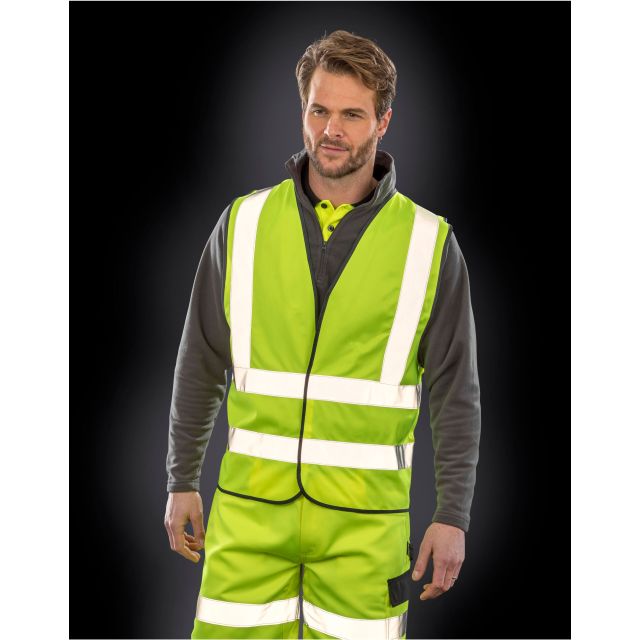
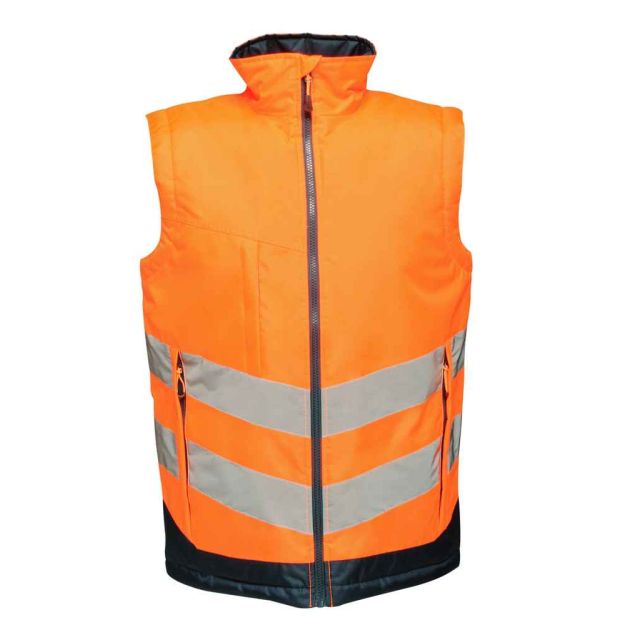
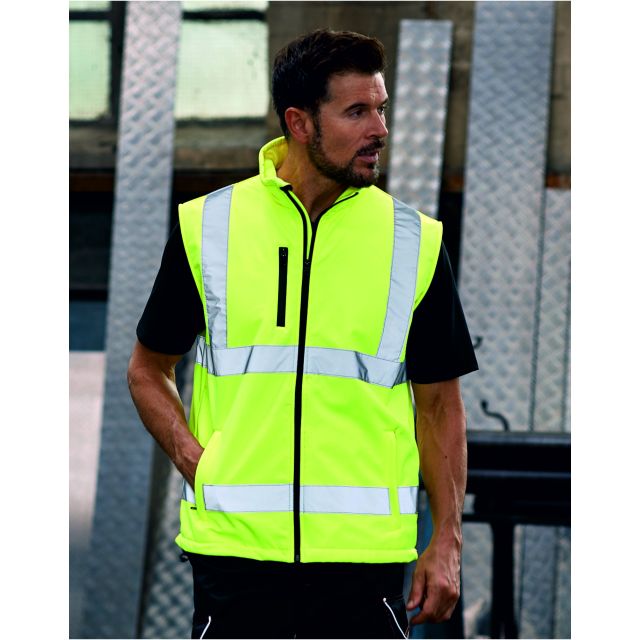
Vests provide a lightweight visibility layer that can be issued quickly and worn over suitable work clothing. They're often practical for visitors, contractors, warehouse teams and event staff where the selected vest meets the assessed requirement.
A basic vest keeps the order straightforward. An executive style may add a zip fastening, identification holder or pockets for employees who wear it throughout a shift. Check whether those features help the role, and make sure the vest fits over clothing without hanging loose or restricting movement.
For company identification, compare printed hi-vis vests with suitable logo positions. For the differences between styles and the checks to make before ordering, use our guide to choosing hi-vis vests for your workforce.
If you're supplying a larger group, the vest-bundle section below explains how to plan quantities around your team, visitors and replacement needs.
Hi Vis Jackets and Coats
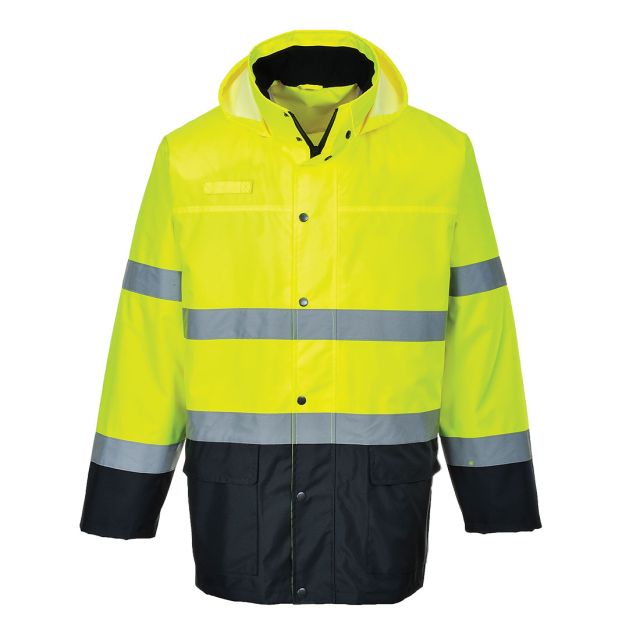
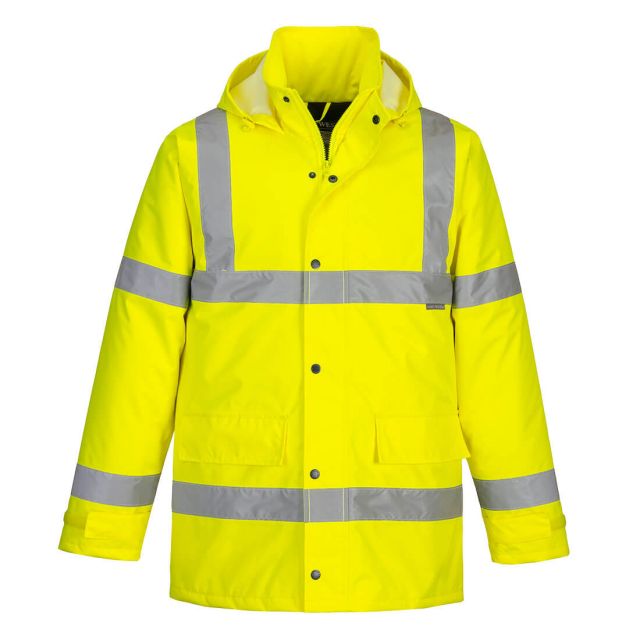
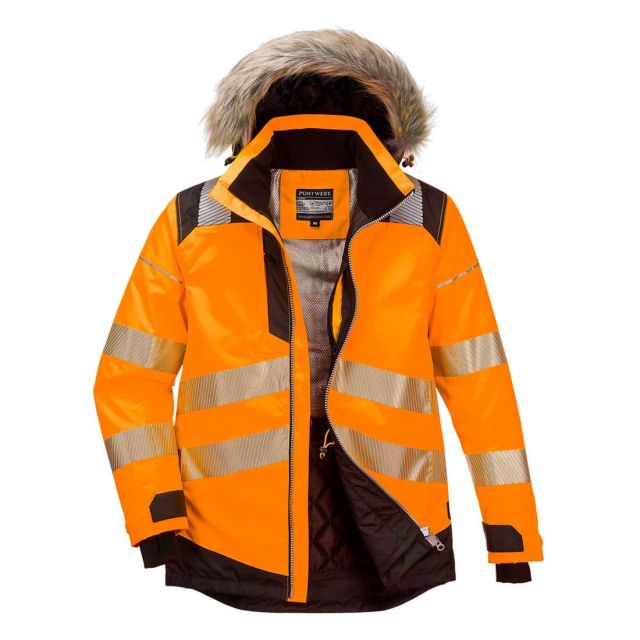
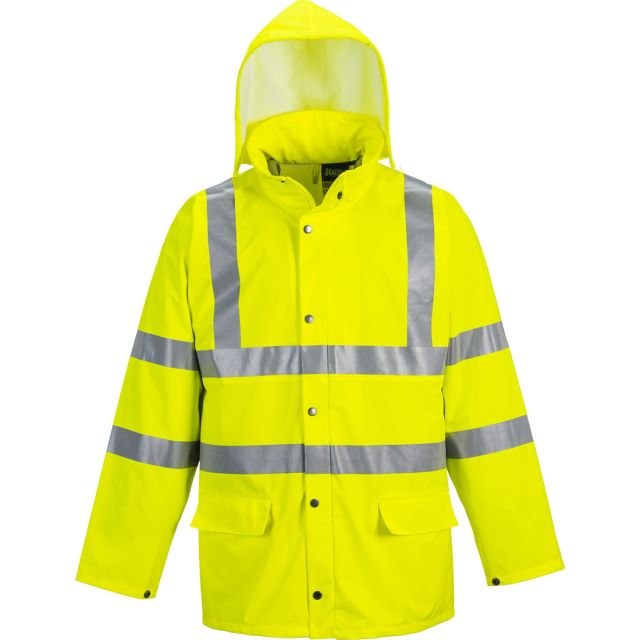
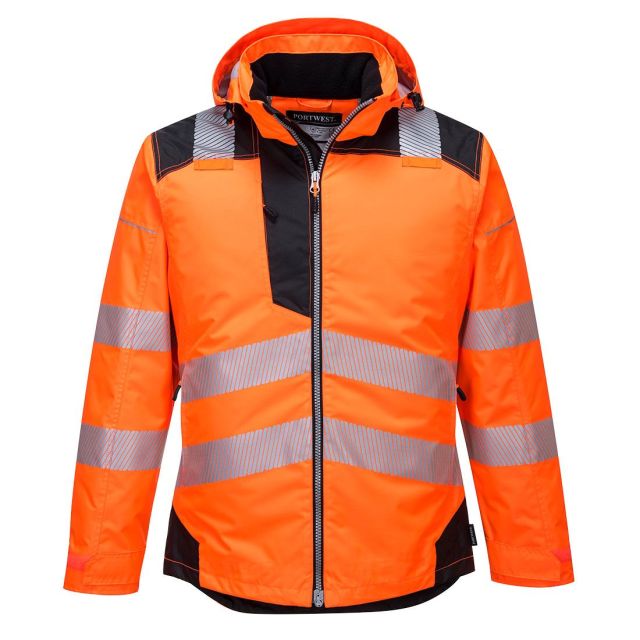
Jackets and coats combine visibility with features for outdoor work. A lightweight shell, insulated winter jacket and softshell serve different purposes, so compare the conditions as well as the garment description.
For wet work, look at the declared rain-protection performance, including EN 343 where applicable. Check resistance to water penetration, breathability, seams and closures. EN ISO 20471 addresses visibility; it doesn't establish that a jacket is waterproof or insulated.
For colder conditions, consider the warmth needed alongside activity levels. An employee walking and lifting all day may need a different combination from someone standing outside for long periods. Check specialist cold-protection requirements separately where the risk assessment calls for them.
Compare suitable hi-vis jackets, then use our hi-vis jacket selection guide to assess weather protection, fit and everyday use. The best choice should work with the rest of the uniform and the required visibility performance.
Hi Vis Hoodies
Hi-vis hoodies can provide a comfortable layer for cooler working conditions. Compare fabric weight, movement, cuffs and zip or overhead designs, as well as the garment's declared visibility class.
Check that the hood and any cords are suitable for the task and compatible with the other equipment being worn. If the working environment requires flame-resistant or other specialist protective clothing, an ordinary hi-vis hoodie won't provide that protection just because it's brightly coloured.
Our guide to choosing hi-vis hoodies for work and logo application covers the practical decisions. Once the requirement is clear, compare custom hi-vis hoodies with suitable decoration options.
Hi Vis Polo Shirts and T-Shirts
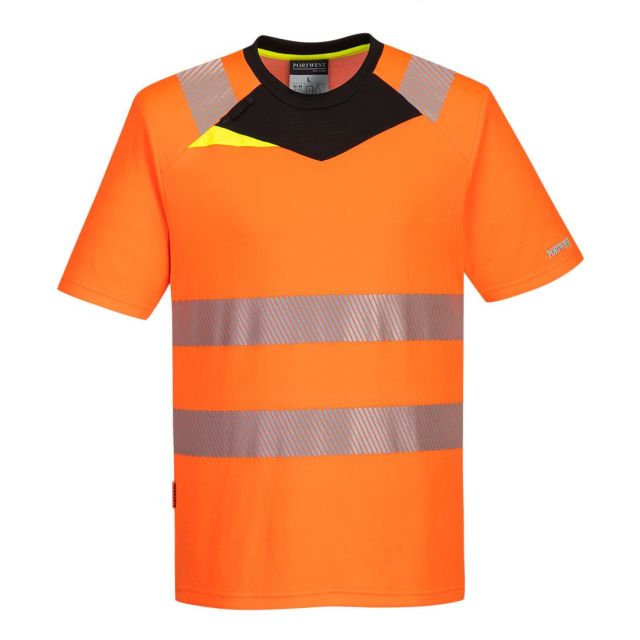
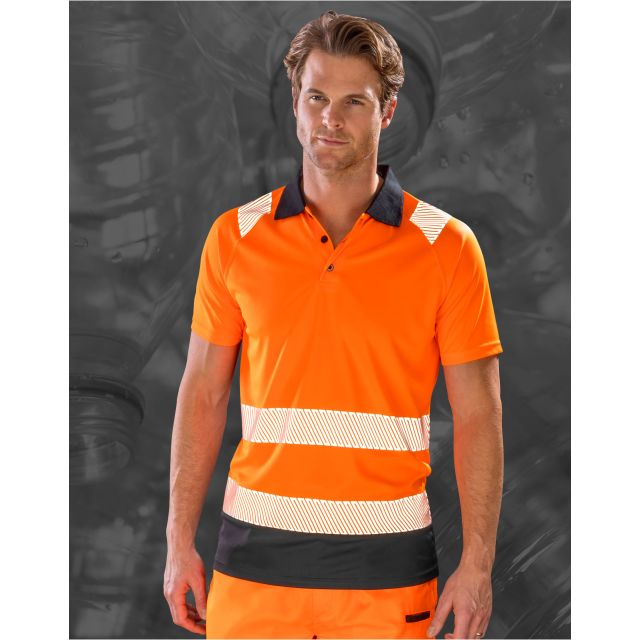
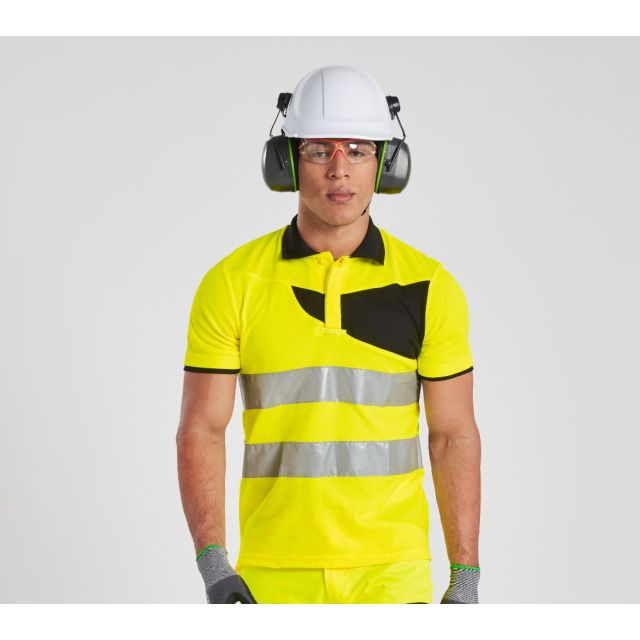
Polos and T-shirts can provide a lighter option when the selected garment meets the visibility requirement. Look at fabric weight, moisture management and the feel of the reflective tape during movement, rather than assuming every short-sleeved garment will feel the same.
A polo gives the uniform a collar and may suit a team moving between operational and customer-facing work. A T-shirt offers a simpler neckline. Sleeve length should also reflect the task, exposure and any site rules.
Compare hi-vis polo shirts and hi-vis T-shirts against the same brief: required class, available sizes, comfort and appropriate logo placement.
For a direct comparison, read hi-vis T-shirts and polo shirts for warm-weather work. For T-shirt-specific fabric and logo considerations, use our hi-vis T-shirt guide.
Hi Vis Trousers and Overalls
Trousers, bib-and-brace garments and coveralls can form part of a specified visibility outfit. The choice should account for the movements and features the role needs, such as kneeling, secure pockets or protection from the weather.
Trousers provide lower-body coverage; coveralls also cover the torso. Neither description tells you the complete protection offered. Check the garment's declared performance and any required protection against separate hazards.
Where the outfit relies on a combination of upper- and lower-body garments to achieve its class, select the documented combination and keep those garments together in the purchasing specification. Changing one item can change the outfit's declared performance.
Our hi-vis coverall selection guide explains the considerations for an all-in-one garment. Use it alongside the standard and class information for the products you’re considering.
Hi Vis Bodywarmers and Gilets
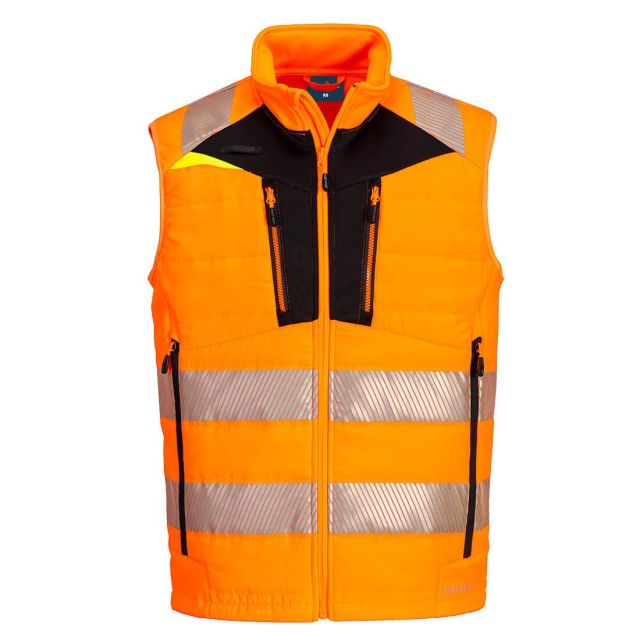
Bodywarmers and gilets provide warmth around the torso while leaving the arms free to move. They can be useful for changing temperatures or roles where a full insulated jacket would feel cumbersome.
The sleeveless design still needs to fit the required visibility specification. If a garment is reversible, check which side provides the declared high-visibility performance; don't assume it applies whichever way the garment is worn.
Compare insulation, pocket access and the clothing underneath. Your logo position also needs to suit the garment's construction and permitted decoration area. Our guide to hi-vis bodywarmers and gilets covers this part of the shortlist.
Hi-Vis Fleece Jackets
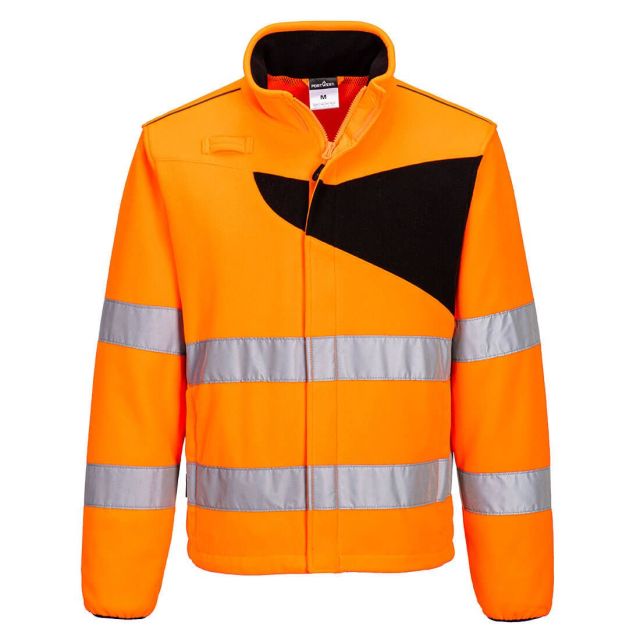
A fleece can provide an insulating layer for cooler conditions. Its suitability as an outer layer depends on the job and weather; fleece alone shouldn't be assumed to provide rain protection.
If a hi-vis fleece is covered by a non-hi-vis jacket, the covered areas can't provide the visibility they would when exposed. Plan the outfit around what remains visible during the task, including when people add or remove layers.
Use our guide to hi-vis fleece jackets: safety, fit and your logo for the garment-specific checks before including fleece in your uniform order.
Why Hi Vis Clothing Matters
Hi-vis clothing helps signal the wearer's presence. That matters where people work around vehicles and mobile equipment, including yards, loading areas and operational sites.
It forms one part of managing the risk. Pedestrian separation, site layout, lighting and safe working procedures still matter. Clothing can improve conspicuity, but it can't guarantee that a driver will see someone in time or compensate for an unsafe traffic arrangement.
In Great Britain, employers must provide suitable PPE free of charge where the risk assessment shows it's required. Employers must make arrangements for correct use, maintenance and storage, and provide appropriate information and training.
HSE's guidance on PPE responsibilities explains those duties. Build the clothing specification into your wider safety arrangements, then explain to the team when and how the selected garments must be worn.
EN ISO 20471: What Buyers Need to Check
BS EN ISO 20471:2013+A1:2016 is the current British standard for high-visibility clothing. It addresses the visibility performance of materials and garment design, with three performance classes.
For purchasing, check the actual garment label and manufacturer's information. Confirm the standard, class and applicable sizes and colours. A general product name or photograph isn't enough to establish the performance of every variant.
Our EN ISO 20471 standards guide provides the detailed explanation. The essentials for garment selection are below.
Fluorescent Background Fabric
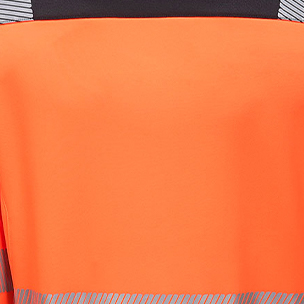
Fluorescent background material improves daytime conspicuity. The standard defines fluorescent yellow, orange-red and red, with colour and performance requirements that go beyond whether a fabric looks bright.
Other colours, such as black or navy contrast panels, can form part of a compliant garment design. They don't count towards its required area of fluorescent background material.
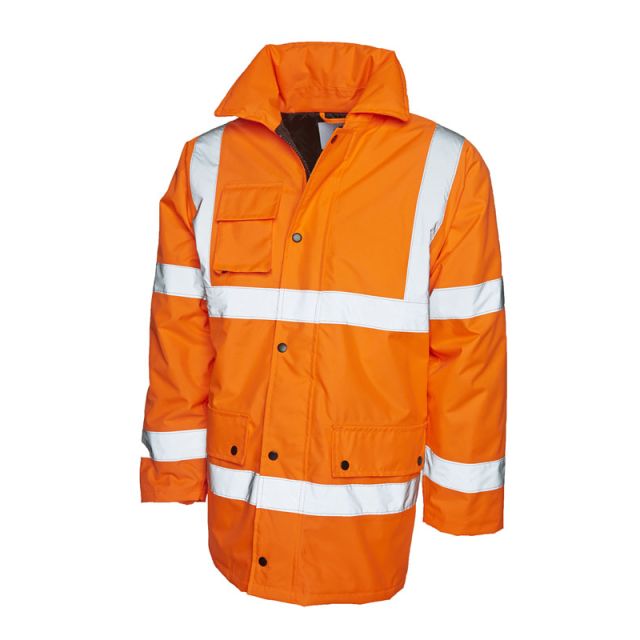
Colour choice should account for the background and any site or sector requirement. Rail work can introduce RIS-3279-TOM requirements, including the specified orange colour. Red fabric isn’t a substitute for rail-compliant orange clothing, and orange colour alone doesn't prove rail compliance.
 Orange Fabric
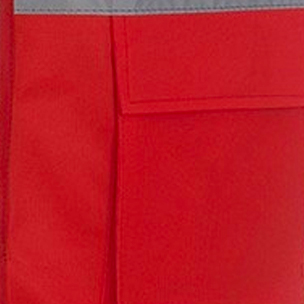 Red Fluorescent Fabric
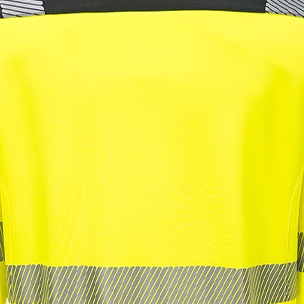 Yellow Fabric
Retroreflective Tape
Retroreflective material returns light towards its source, such as vehicle headlights. It provides a different function from the fluorescent fabric and doesn't generate its own light.
The amount and positioning of the material both matter. Keep the required visible areas exposed when the garment is worn, and follow the manufacturer's fastening and wearing instructions. A compliant material used in an unsuitable garment layout doesn't establish compliance of the finished clothing.
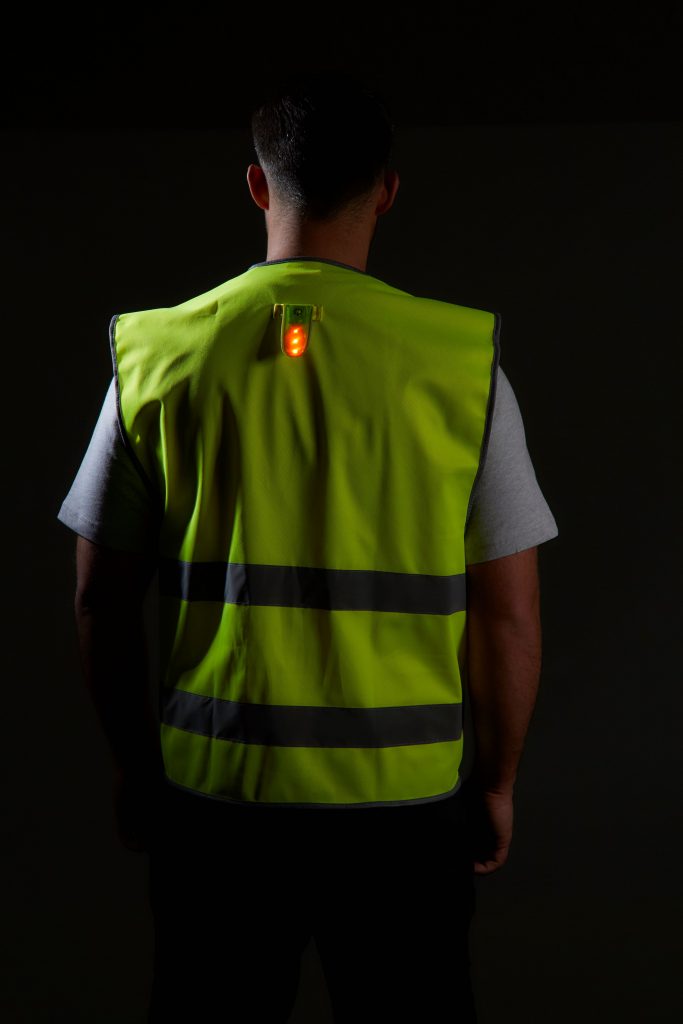 Light off
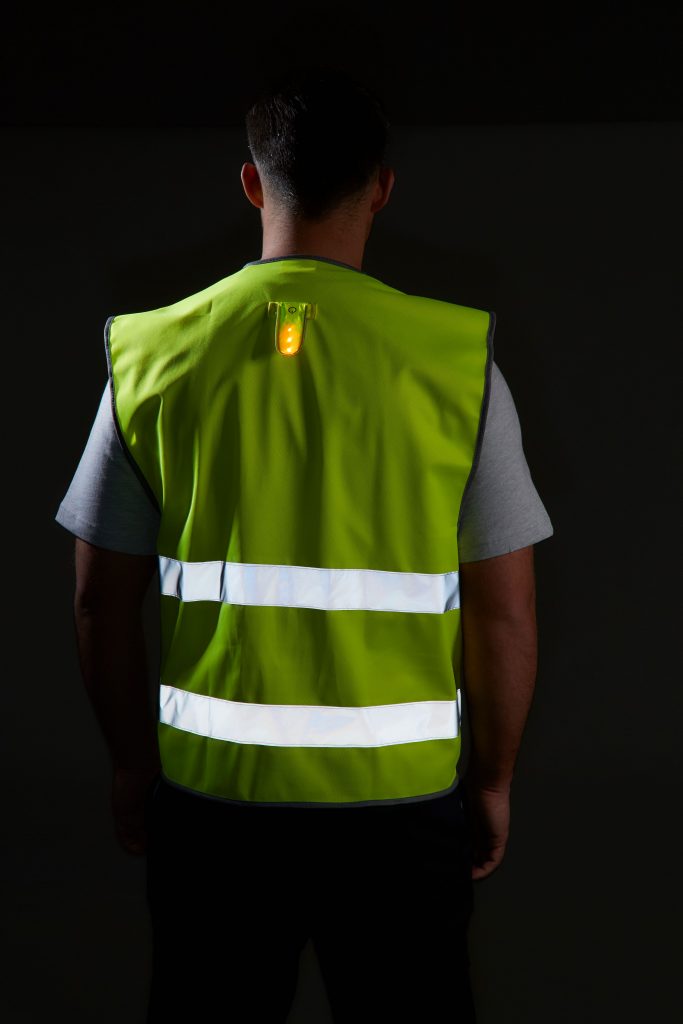 Light on
Class 1, Class 2, and Class 3
The three classes have different minimum visible-material areas. For garments using separate fluorescent and retroreflective materials, the requirements include:
| Performance class | Minimum fluorescent background material | Minimum retroreflective material |
|---|---|---|
| Class 1 | 0.14 m² | 0.10 m² |
| Class 2 | 0.50 m² | 0.13 m² |
| Class 3 | 0.80 m² | 0.20 m² |
Class 3 has the highest area requirements and additional garment-coverage requirements. These figures don't provide a DIY certification check: design, placement and the other requirements of the standard also apply.
Use the class specified for the work and check the product documentation. Don't assign a class to every warehouse, construction or delivery role without considering the actual conditions.
For the detailed comparison and application to an outfit, read understanding Class 1, Class 2 and Class 3 hi-vis clothing.
Can Combining Garments Increase the Class?
Yes. The correct combination of garments can achieve a higher visibility class than either item provides alone. For example, a Class 2 top and Class 1 trousers can form a Class 3 ensemble where the manufacturer declares that combination as meeting Class 3.
Use the manufacturer's documented combinations, including the relevant styles, sizes and wearing instructions. Two separately classified garments don't automatically form a higher-class outfit simply because they're worn together.
Record the combination when ordering and issuing the kit. If someone changes the trousers, removes the top or covers part of the outfit, reassess whether the required performance is still being provided.
Fit, Sizing and Layering
Good fit makes the clothing easier to wear correctly. Check the manufacturer's size guide for each style instead of assuming that "large" means the same across every garment in the order.
Assess fit over the clothing people will actually wear. Ask wearers to reach, bend and sit, and check that the garment can be fastened as instructed. Excess fabric and restricted movement can both cause practical problems.
Check the visibility class across your size range too. Some styles have different declared classes in smaller sizes. That needs resolving before you issue a mixed-size uniform order against a single class requirement.
For a layered uniform, consider three working situations:
| Working situation | What to establish before ordering |
|---|---|
| The wearer removes an outer jacket | Whether the remaining outfit still meets the required visibility specification |
| A vest is worn over winter clothing | Whether it fits and fastens correctly over those layers |
| The outfit depends on a declared garment combination | Whether the correct items remain in use together |
Include other PPE in the assessment. Clothing should work with the equipment needed for the task without compromising its use. A wearer trial can identify problems with movement, pocket access or fastenings before you repeat the same selection across the workforce.
Adding Your Logo to Hi-Vis Clothing
Your logo helps identify the company behind the team. Role wording can also help distinguish employees, visitors or event staff. Plan that identification alongside the garment choice so the decoration suits both the uniform and its protective function.
Agree the Position and Size First
A small chest logo and a large back print use different amounts of garment area. Assess the complete design, including company names, contact details, role wording and any additional marks.
The permitted area depends on the garment and size. Keep required fluorescent areas and retroreflective tape clear. A contrast panel may provide a practical position, but it isn't automatically suitable for any size or type of decoration.
Matching a printed background to the fluorescent garment colour doesn't make that printed area equivalent to tested fluorescent fabric. Use the manufacturer's decoration guidance and agree the finished specification before production.
Choose a Suitable Application Method
Print is commonly used for company names and role identification. Embroidery may suit some garments and approved positions. The decision also depends on the fabric, construction and any additional protective properties.
For example, needle penetration can affect a waterproof layer, and specialist protective garments can require particular decoration materials or methods. Don't select print or embroidery solely because it worked on a different garment in your uniform.
Give us the garment requirement, size range and logo artwork together. We can then discuss a suitable application and identify any limitations before the order moves into production.
Review the Artwork Before Production
Confirm the wording, colours, dimensions and positions against the agreed garment. For a team order, keep a record of the approved specification so repeat orders use the same version.
Our Free Digital Sample helps you review how your logo will look. The visual mockup supports artwork approval; the garment's technical documentation and suitability checks still need to support the finished specification.
When Hi-Vis Vest Bundles Make Sense
If you need a consistent vest for a larger group, printed hi-vis vest bundles give you fixed quantities with logo print included. XAMAX® offers options for 50, 150, 500 and 1,000 vests.
Start by confirming that the vest and permitted logo application meet your requirement. Then choose the quantity around actual demand: current wearers, visitors, contractors, replacement provision and planned new starters.
| Bundle quantity | Examples of how the quantity could fit an order |
|---|---|
| 50 vests | A smaller team, visitor provision or a defined event crew |
| 150 vests | A larger workforce, contractor group or site requirement |
| 500 vests | Multiple locations, a large event or a substantial rollout |
| 1,000 vests | A national programme or large workforce deployment |
These examples help with planning; they don't establish which vest is suitable for a particular activity. Check the chosen bundle's vest model, declared class, colours, size range, print method, logo positions and price inclusions.
For an ongoing operation, distinguish the number of people from the number of garments needed. Visitor use, cleaning arrangements and replacements can affect the quantity you need available. Separate groups with different specifications before comparing the bundle options.
Compare the total order cost and what's included. A larger bundle only provides value if the quantity, garment and decoration meet a real requirement. If you need a different style or specification, compare custom hi-vis vests against the same brief.
Planning a Workforce Order
Once you've shortlisted suitable clothing, turn it into a repeatable order specification. This helps avoid collecting sizes first and discovering later that the chosen garment can't meet part of the requirement.
Record:
- Wearer groups: who needs each garment, including differences between roles or locations.
- Required performance: the visibility class and any additional standards or site specifications.
- Garment details: the exact style, colour and applicable size range.
- Approved combinations: the items that must be worn together where the outfit's class depends on them.
- Quantities and sizes: the actual garment requirement, including agreed provision for cleaning and replacement.
- Logo specification: artwork version, dimensions, positions and application method.
- Delivery requirement: when the clothing needs to be available, allowing time for selection and artwork approval.
- Repeat ordering: who authorises changes and which details must remain consistent.
For teams needing several garment types, compare suitability across the complete uniform. A shared logo gives the order visual consistency; the garments can still differ to suit each role.
How Often Should You Replace Hi-Vis Clothing?
Inspect clothing for dirt, fading, damaged tape, tears and failed fastenings. If its condition compromises the required performance, withdraw it from use and provide a suitable replacement. Don't wait for an arbitrary wash count to make that decision.
Follow the care instructions for the actual garment, including washing, drying and any stated maximum cleaning cycles. There isn't a universal 25-wash replacement interval for every hi-vis product.
Some Portwest styles declare a maximum of 50 washes. A 50-wash declaration offers a higher stated cleaning allowance than a comparable 25-wash declaration under the specified conditions. It doesn't guarantee twice the working life: wear, contamination, damage and care also affect when the garment needs replacing.
Plan enough garments to support the cleaning arrangements and keep suitable replacements available. For the practical inspection and replacement checks, use our guide to when to replace hi-vis clothing.
Buying Hi-Vis Clothing From XAMAX®
XAMAX® is a BSIF Registered Safety Supplier. That gives buyers a supplier they can verify when sourcing PPE and safety workwear. The garment still needs to match the task, the wearer and the required specification.
We can help you compare clothing options and discuss your logo before you commit to a team order. Bring your garment specification, quantities, sizes and artwork together so the recommendation reflects the full requirement.
If you're equipping a larger group with suitable vests, compare the printed hi-vis vest bundle options. For a wider uniform requirement, use the hi-vis clothing range alongside the specialist guides linked throughout this article.

Latest posts by Andy (see all)
- What are the Most Common Construction Site Accidents? - 25th April 2026
- Custom T-Shirts for Businesses: Bulk Ordering Made Simple - 21st April 2026
- Bulk T-Shirt Pricing Explained: 50 vs 150 vs 500 vs 1000 - 21st April 2026