How to Order Custom T-Shirts in Bulk (Step-by-Step UK Guide)
Ordering custom T-shirts in bulk is not complicated, but there are a few key decisions that affect how smoothly the process runs.
When everything is clear from the start, orders move quickly, costs stay under control and the final result is consistent. When details are missed, delays and revisions become more likely.
This guide takes you through the process step by step, so you know exactly what to do before placing your order.
Step 1: Decide What the T-Shirts Are For
Before choosing products or uploading designs, be clear about how the T-shirts will be used.
This influences every decision that follows.
Common use cases
- Staff uniforms and teamwear
- Events and promotions
- Merchandise for resale
- Giveaways or campaigns
A clear purpose helps you choose the right quantity, print method and garment without second-guessing later.
Step 2: Choose Your Quantity
Your quantity should reflect both your immediate needs and a practical buffer. How many t-shirts you need should be based on your requirements, not you opinions.
Most bulk orders fall into a few clear ranges:
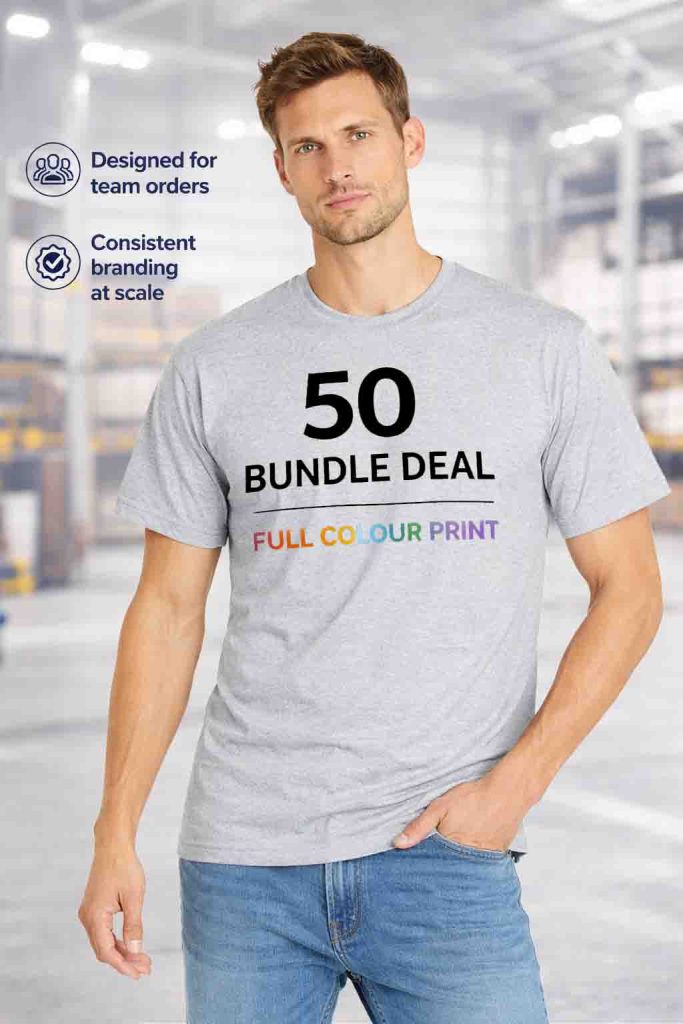
- 50 units for smaller groups or short runs
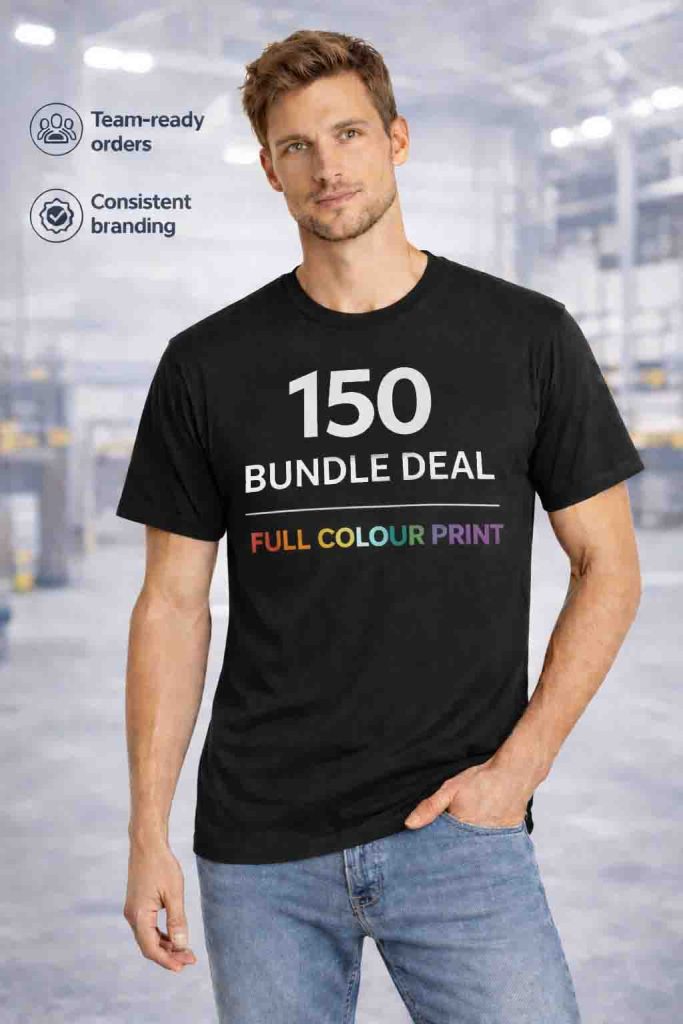
- 150 units for balanced, practical orders
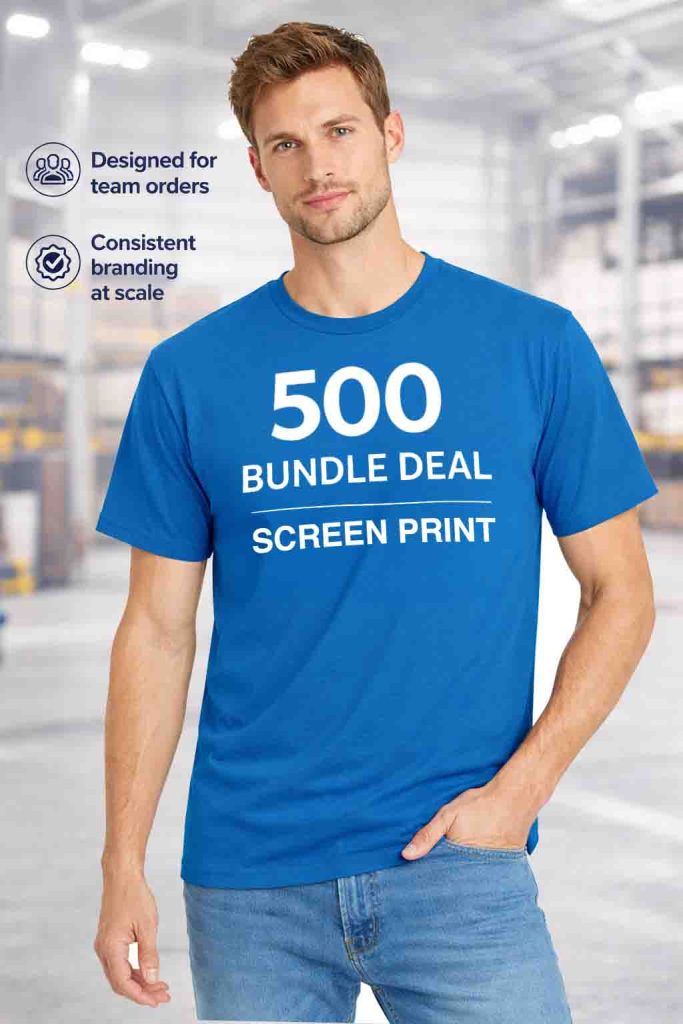
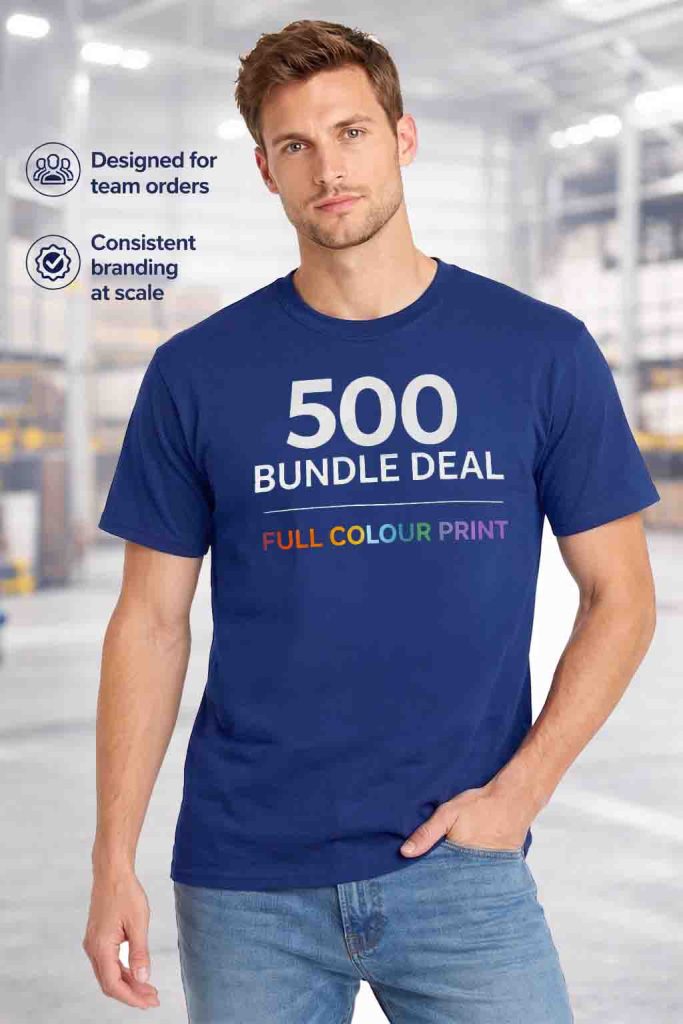
- 500 units for large distribution
- 1000 units for resale or wholesale
Increasing your quantity slightly often improves cost per unit and reduces the risk of needing a second order.

Step 3: Select the Right T-Shirt
The garment you choose needs to work across your entire order.
For bulk printing, consistency is more important than variety.
The Gildan 3000 Heavy Cotton T-Shirt is widely used because it provides:
- Lightweight feel suitable for most audiences
- Reliable sizing across large quantities
- A stable surface for printing
Choosing a proven product helps ensure the final result is consistent from the first T-shirt to the last.
Step 4: Choose Your Print Method
The print method affects both appearance and cost, so it should be matched to your design and quantity.
Full Colour Printing
Best suited to designs with multiple colours or detailed artwork. It allows your design to be printed without simplifying it.
Screen Printing
Best suited to larger orders with simpler designs. It offers a clean, bold finish and becomes more cost-effective at higher volumes.
Making this decision early avoids changes later in the process.
Step 5: Prepare Your Design
Your design is central to the order, so it needs to be clear and suitable for printing.
At this stage, focus on:
- Using a high-quality file
- Keeping the design clear and readable
- Ensuring colours match your expectations
If your design is not final, it is still worth preparing a working version so the order can move forward.
Step 6: Choose Print Position and Options
Decide where the design will be printed on the T-shirt.
Common positions include:
- Front
- Back
- Left chest
- Right chest
Most bulk orders include one print position as standard. Additional positions can be added if needed.
For screen printing, you may also need to confirm the number of colours used in the design.
Step 7: Build Your Size Breakdown
Instead of ordering one size, you will need a mix.
A typical breakdown includes:
- Medium and large as the core sizes
- Smaller quantities of small and extra small
- Additional larger sizes based on your audience
If you are ordering for resale, past sales data is the best guide. If not, a balanced mix usually works well.
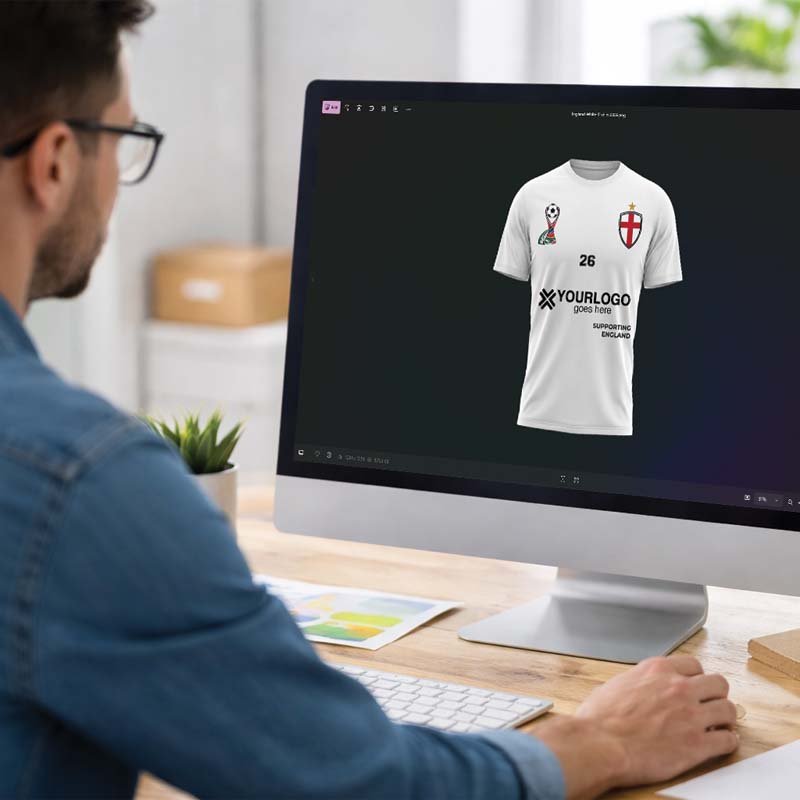
Step 8: Upload Your Artwork and Place the Order
Once everything is ready, upload your design and complete the order details.
This includes:
- Garment colours
- Size breakdown
- Print position
- Any additional options
Providing clear information at this stage helps avoid delays later.
Step 9: Review and Approve the Artwork Proof
Before production begins, you will receive a proof showing how your design will appear on the T-shirt.

This is your opportunity to check:
- Placement of the design
- Size and proportions
- Colours and overall appearance
Approval confirms that everything is correct. Once approved, production can begin.
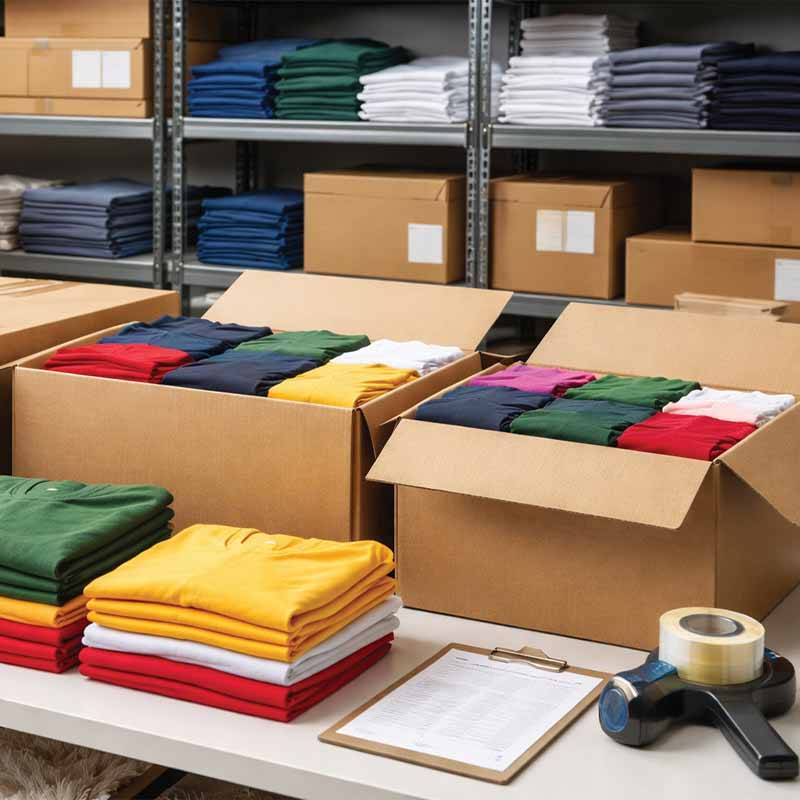
Step 10: Production and Delivery
After approval, your order moves into production.
The process is managed to ensure:
- Consistent print quality across all units
- Accurate sizing and quantities
- Timely dispatch
At this stage, the preparation work you have done ensures everything runs smoothly.
Common Questions Before Ordering
Do I need to finalise everything before ordering?
It helps to be as clear as possible, but small adjustments can usually be handled during the proofing stage.
What if I am unsure about sizes?
A balanced size mix works well in most cases. Adding a small buffer helps cover uncertainty.
Can I add more later?
You can place a second order, but it is often less efficient. Planning your quantity properly at the start avoids this.
Bringing It All Together
Ordering custom T-shirts in bulk follows a clear sequence:
- Define your purpose
- Choose your quantity
- Select your garment
- Choose your print method
- Prepare your design
- Confirm positions and options
- Build your size breakdown
- Upload and order
- Approve the proof
- Receive your order
Following this structure removes uncertainty and helps ensure your order is accurate from the start.
What Happens Next?
Once you understand the ordering process, the next step is choosing the right combination of quantity and print method for your specific needs.
That decision will determine how your order performs in terms of cost, quality and usability.
With the right setup in place, ordering in bulk becomes a straightforward and repeatable process.
- Custom T-Shirts for Businesses: Bulk Ordering Made Simple - 21st April 2026
- Bulk T-Shirt Pricing Explained: 50 vs 150 vs 500 vs 1000 - 21st April 2026
- How Many Custom T-Shirts Do You Need for Your Event or Team? - 21st April 2026